Instructions to Install ViPER4Android on Android 8.0 Oreo
Consider the possibility that I revealed to you that you could enchance your sound involvement on your Android gadget to the level you couldn't envision. We are certain you wouldn't trust us effortlessly. Today we have something known as VIPER4Android which will bring our this fantasy into the real world. What is this precisely? What does it do? How about we investigate arrangement of these inquiries.
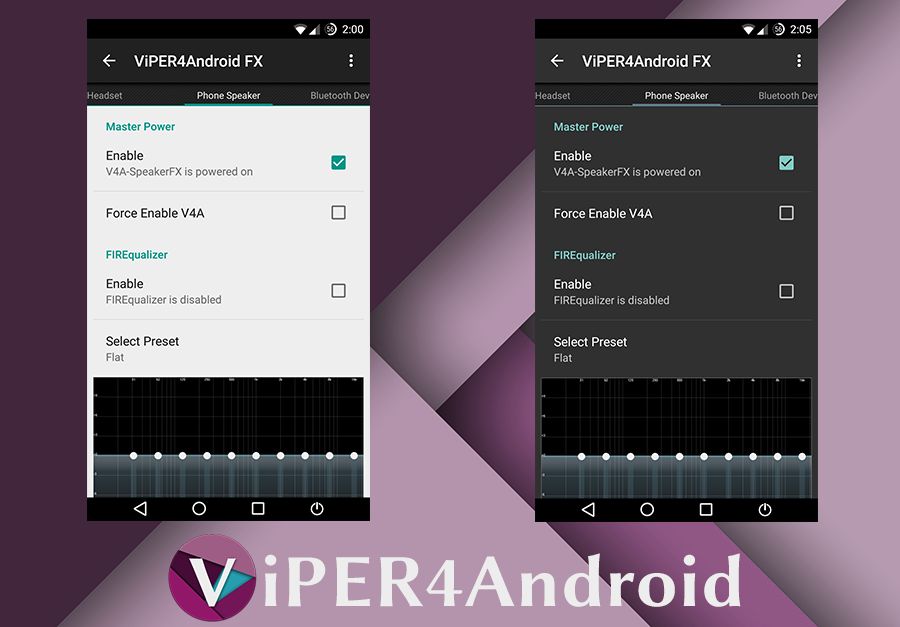
VIPER4Android is a sound mod accessible for your gadget. Utilizing this application, you would enchance be able to your inbuilt Android sound involvement to the following level . This application has been there in the news since couple of months because of progress it got in it's visual show.
Android Oreo has additionally as of late propelled in August and it's likewise making news because of a portion of the new highlights it has. In any case, there are numerous gadgets where the Android 8.0 Oreo form hasn't been discharged by the makers and in this manner the clients need to rely on Custom ROMs. In the present article, we will assist you with installing ViPER4Android on Android 8.0 Oreo.

There's no official discharge or declaration made with respect to the application from V4A engineer's end . In this manner, you might be somewhat stressed, however don't stress as the old establishment strategy has been attempted and tried commonly on various gadgets running Android 8.0 Oreo. In the strategy, we will take utilization of the V4 variant of Android Noughat on Oreo gadget and as opposed to introducing it as framework application, we will introduce it as client application. Thus, lets start:
Essentials:
Essentials:
- Make beyond any doubt your gadget is running Android Oreo and is established.
- Don't neglect to take Nandroid reinforcement incase on the off chance that anything turns out badly. However, there are less possibilities, in the event that you take after the means deliberately.
Step by step instructions to introduce Viper4Android on Oreo
We will separate the means territory into 2 sections. In the first place is the underlying set up you have to deal with before establishment of the application. Next, would be the manual for introducing and running the application appropriately .
Section 1 – Initial Setup
We will separate the means territory into 2 sections. In the first place is the underlying set up you have to deal with before establishment of the application. Next, would be the manual for introducing and running the application appropriately .
Section 1 – Initial Setup
- Download and introduce the BusyBox for your Oreo gadget. We prescribe you to download Stephen BusyBox.
- Time to dispatch the application!
- The first occasion when you open the application, it will request that you concede root consents, do likewise. After that get into "Introduce Busybox" and ensure you don't tinker with any of the alternatives.
- After that, tap on "Introduce" situated at left base side in the application . Simply sit tight for BusyBox to introduce. You will be welcomed with an affirmation message quickly after the establishment.
Section 2: Root Explorer Setup
- Next, we need to download a root-based/empowered document wayfarer. There are numerous out there on Play Store, however we prescribe you to introduce Solid Explorer. It's light and easy to utilize. Visit here to download the application.
- In the wake of downloading and establishment, simply dispatch the application.
- Swipe out from left zone of the application and after that search for "Root" under Storage menu. After you discover it, tap on it.
- As you opening for first time, it will approach here too for root consents, concede them and continue to the following stage.
- Next, in the pioneer, go to/Vendor/and so on. There, you will discover a record named "audio_effects.conf".
- Hang on the document and afterward press on 3 specks on the upper right corner. After that pick the choice "Rename" from the rundown.
- Give it another name, "audio_effects.conf.bak" . Okay, we could have straightaway erased the document, however we renamed, incase you might want to reestablish it later on.
